Showing posts with label x-acto. Show all posts

Friday, September 9, 2016

Marquee letter

I have wanted a marquee letter for a very long time! The only ones I ever found were expensive or tiny. So when I found a DIY for one on Pinterest that was a decent size and not terribly priced I was so excited.


You'll need:
Cardboard letter (Hollow)
A string of globe lights (Frosted, I didn't get frosted and they're a little blinding)
Spray paint (Whatever color you want your letter)
X-Acto knife
Dowel rod


Part 1:
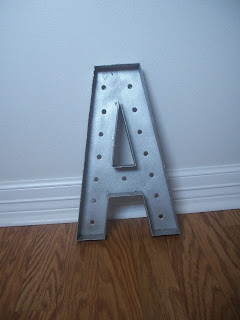
 I got a hollow cardboard letter from Hobby Lobby. I got my X-Acto knife and cut the front off of the letter.


Note:
I found globe lights at Hobby Lobby. Once you have your letter you need to figure out how many bulbs you'll need. My A needed fifteen. I couldn't find a strand that was the right length so I got one that was a little longer and covered the extras to use them for extra cord.

Part 2:
You'll need to measure your bulbs to make sure they are spaced properly and then mark on the back where your holes need to go. I traced the hole that the bulbs were in, in the package to get an idea of the hole size I would need. I used my X-acto knife to make slits inside the circle. The dowel rod is for making the hole the size you need.


Part 3:
After you have made the holes and make sure the bulbs will fit well. You can paint it.


Part 4:
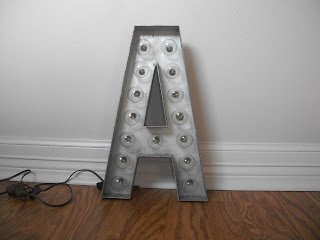
After the paint is dry you can put the bulbs where they go...
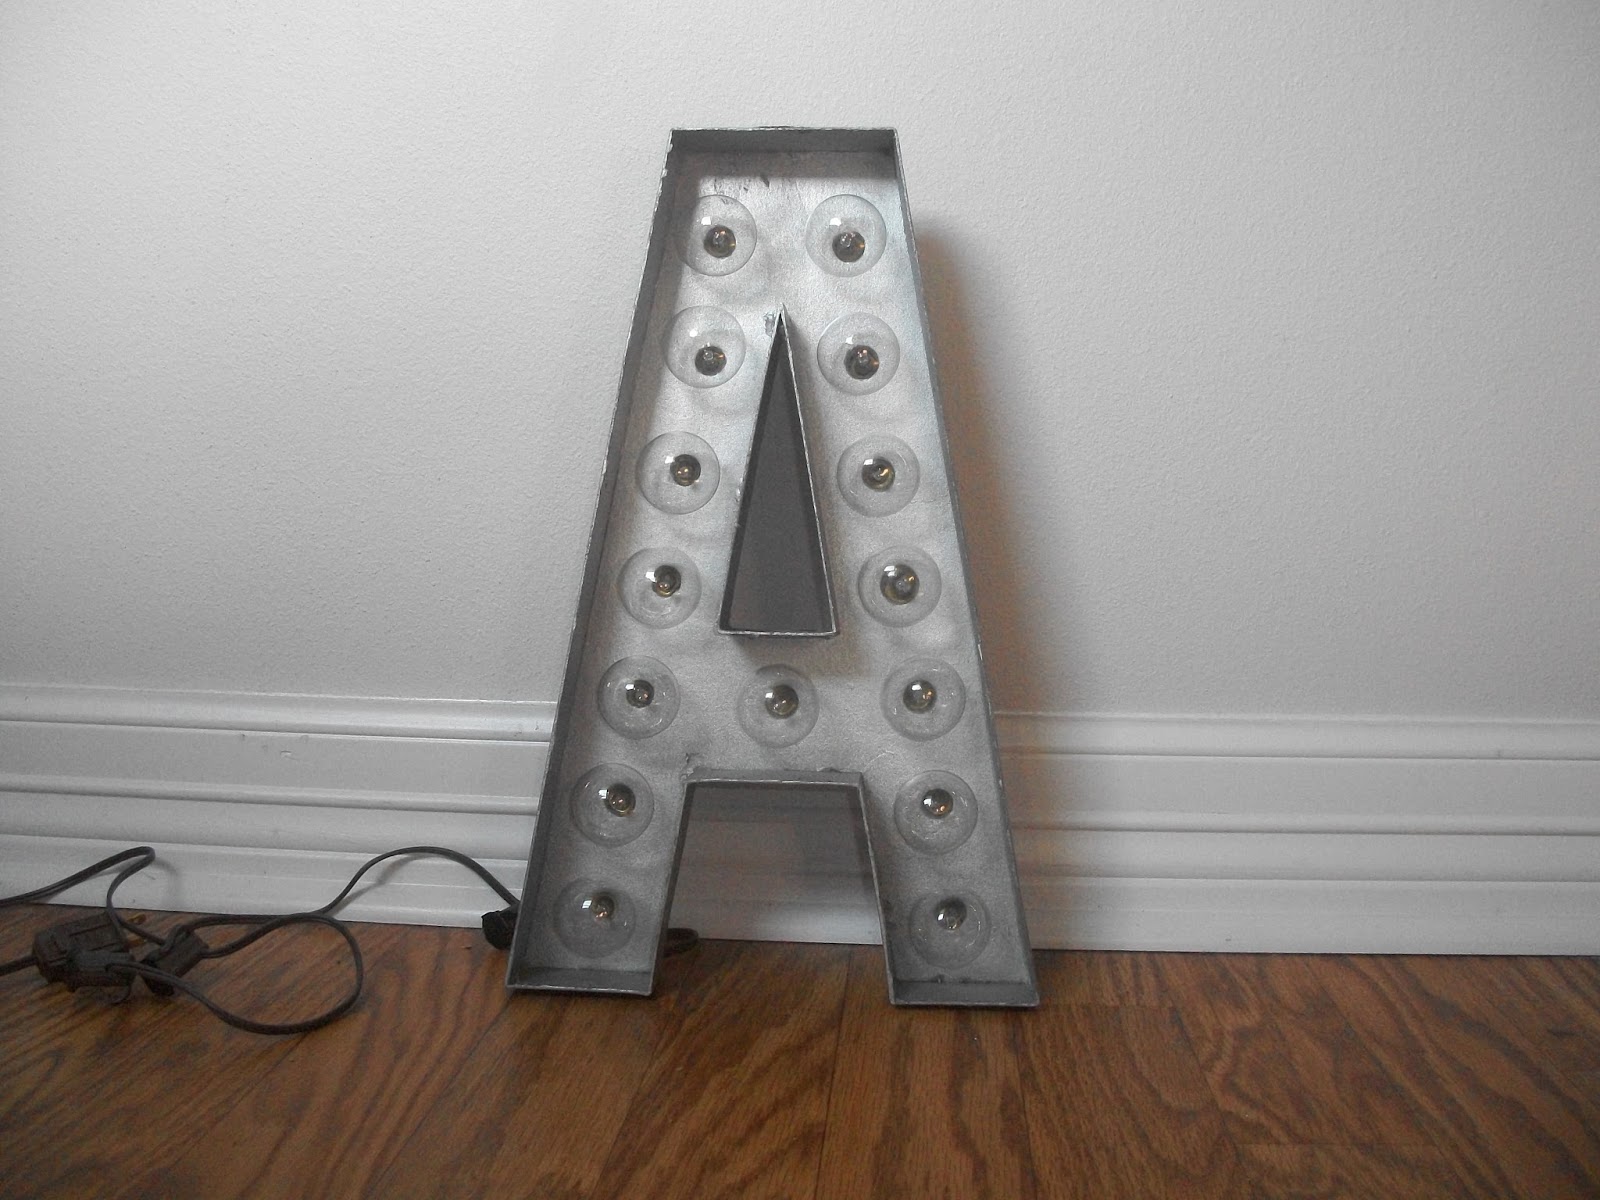

and light it up!!


Overall I'm not sure if I saved money by doing it this way. Because I had to buy the materials instead of an already made one. But it was a great project and I'm very proud of how nice it looks!

Saturday, June 25, 2016

Avengers shoes

You could probably say I'm a bit of a geek. So when I saw this project on Pinterest I had to do it!


You need:
White canvas shoes
Mod Podge
X-Acto knife
Painters tape
Tiny paint brush
Foam brush

(You'll also want something to stuff in the toes of your shoes to help them keep there shape until your ready to wear them.)


You'll want to take the two layers of the napkins apart. The kind I got were two-ply if you have one that is different you'll only need the designed sheet.


I used my tiny paint brush to make a thin line of water on the napkin where I wanted to take out the character. Don't use scissors! Just tear gently. You want the edges to be somewhat rough, so they will mesh together better. 


Figure out where you want your characters. You should probably do a few extras. You'll end up needing extra pieces.

Use the foam brush to put a thin layer of Mod Podge in the area your going to put your character. Then put a thin layer over the top. I had to get more hands-on to get the wrinkles and bubbles out. Be very gentle. Only do one at a time. If you do several at once the colors might bleed through and ruin it.


I did one on the left shoe then one on the right and gave them plenty of time to dry. Repeat the process until your shoes are mostly covered. There may still some blank spots after you have all the characters you want on each shoe. Just take the bits and pieces you have left or new pieces and fill in the gaps.


Once your shoes including the tongue are completely covered and dry. Use the X-Acto knife to put the eye-lets out so you can put the laces back in.


If you want to make your shoes waterproof you can spray them with a waterproof seal. Clear spray paint for instance. Or outdoor mod podge. I didn't have any and decided to just be careful not to wear them when it rains.

Here's the finished product!! Pretty cool, huh?


When you put time and effort into a project, and you finish it you should be very proud of it.

Thursday, May 19, 2016

Shoe make over

I've been busy with work and other things lately and have neglected this blog. Sorry about that.

However I did have time this week to do or start several projects. I wasn't very good at taking pictures of it.

Have you ever wanted to challenge yourself, give yourself something generic and basic and make it look cool? That's probably just me.

I got some white canvas shoes to make a certain project. I've been wanting to make for a while, but I got the wrong type of shoes and instead of returning them (because that's always so impossible). I decided to fix them up and make them look swag. Sorry I won't say that again.


What I used:
Canvas shoes- (your size) They don't have to be canvas that's just what I got.
Spray paint or acrylic paint
Pyramid studs- (With or without prongs. I use the ones without prongs for shoes.)


Part 1
Take your shoe laces out you won't be needing them for a while.


You can use Spray paint or acrylic I used a durable outdoor waterproof spraypaint so I wouldn't have to worry about the paint washing off if it rained. It did make the shoes very stiff though. So if you want to avoid that you may want to use acrylic and cover it with a waterproof seal.

I taped over the inside and the tongue of the shoe and taped over the inside of the eyes so there wouldn't be spots on the inside. I did about 3 or 4 coats of paint to make sure it was well covered. (It was probably too much, but this whole project was very experimental.) After it was dry I painted the tongue with acrylic paint and did touch ups.


Part 2
Left with solid black shoes, very different looking from the old lady shoes I started out with, the next step would be decorating.

There are types of pyramid studs, with prongs, and without. At first I tried to use the ones with prongs. I haven't actually been able to figure out something to use them for until now. It didn't work very well however since all I did was try to stick them into the shoe and didn't glue it or anything. Since that type didn't work I heated up my glue gun and attached the non-prong kind instead.


Part 3
All you have to do now is let it all dry and put the shoelaces in.

 I didn't have a lot of studs otherwise I probably would have done more.

Here's the finished product!


Mine are a little stiff but hopefully that will go away once I wear them and break them in. Be careful about getting them wet though. I'm not sure how well they'll hold up in the rain or anything wet. If you want to coat them in a protective seal then they'll probably be okay.


Monday, September 28, 2015

Denim Shorts

One of the trends I haven't bought into yet is denim shorty shorts. Now this particular trend has been around a while, but I wasn't sure I could pull it off so I never bothered trying. Until now.

I had an old pair of jeans I was going to get rid of. I started to have second thoughts about donating them. I like to update things, and was there nothing I could do to make them wearable? I've seen so many pins on Pinterest about turning old jeans into shorts. Why not give it a try? So here it how I did it!


You'll need:
Jeans
sandpaper (optional)
X-acto knife
box cutter


First I started with-obviously-a pair of jeans. I would definitely use an old pair for this project because the whole point is to make them look rough so I wouldn't waste a good pair.

I cut my jeans just above the knee to make sure I had plenty to work with. Then put them on. The extremely helpful tutorial I used said you could roll them up. You should try messing around with it, they may look better shorter around the outside of your leg. Play with it and once you get it how you want it use a sharpie or a marker to make a line on the inside of the jeans for where to cut them.

Take them off and cut the marked line. Trim them if necessary, but if there are pieces that are a little jagged or rough. You can leave them they'll add to the look.

Next you'll need the sand-paper. This step is optional since it does add to the effect, but it takes a while and a lot of elbow grease to get any progress. Basically sand a couple of spots where you want holes.

Then put cardboard in the leg to make sure the cuts don't go through to the back of the leg. (Also make sure the pockets are out of the way so you don't get a lot of holes in them.) Use and X-acto knife around the legs to make little cuts and splits. The X-acto knife won't make a huge difference. Feel free to go crazy.

Now for the box cutter. Be very careful with this one because they are sharp. Make two long cuts on the front of the shorts parallel to the leg opening about a half-inch from the bottom edge. Make sure to use the cardboard in between your surfaces. The whole point of this is to have unique fraying designs so you don't want it to be the same on the front and the back.

You can do little frays here and there on the top edge of the pockets or on the belt loops or whatever you want.

Once you're happy with your shorts that's it. You're done!