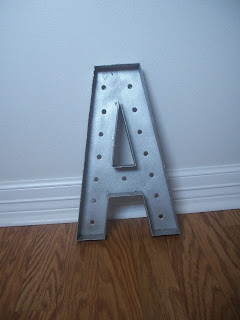
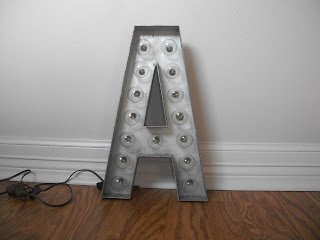
I have wanted a marquee letter for a very long time! The only ones I ever found were expensive or tiny. So when I found a DIY for one on Pinterest that was a decent size and not terribly priced I was so excited.
You'll need:
Cardboard letter (Hollow)
A string of globe lights (Frosted, I didn't get frosted and they're a little blinding)
Spray paint (Whatever color you want your letter)
X-Acto knife
Dowel rod
Part 1:
I got a hollow cardboard letter from Hobby Lobby. I got my X-Acto knife and cut the front off of the letter.
Note:
I found globe lights at Hobby Lobby. Once you have your letter you need to figure out how many bulbs you'll need. My A needed fifteen. I couldn't find a strand that was the right length so I got one that was a little longer and covered the extras to use them for extra cord.
Part 2:
You'll need to measure your bulbs to make sure they are spaced properly and then mark on the back where your holes need to go. I traced the hole that the bulbs were in, in the package to get an idea of the hole size I would need. I used my X-acto knife to make slits inside the circle. The dowel rod is for making the hole the size you need.
Part 3:
After you have made the holes and make sure the bulbs will fit well. You can paint it.
Part 4:
After the paint is dry you can put the bulbs where they go...
and light it up!!
Overall I'm not sure if I saved money by doing it this way. Because I had to buy the materials instead of an already made one. But it was a great project and I'm very proud of how nice it looks!


No comments:
Post a Comment